
Brew Guide: How to Use the AeroPress Go like a Champion
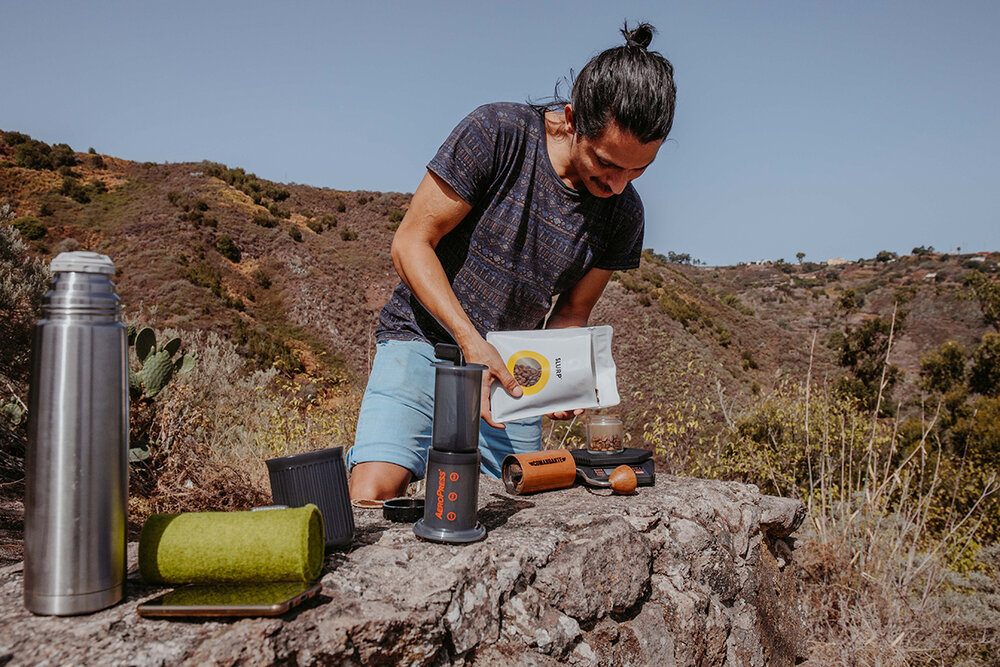
The AeroPress is a simple device for brewing an excellent cup of coffee. It is loved by the specialty coffee community for being extremely versatile, easy, and fast to use. Whatever kind of coffee you are in the mood for, whether it is a standard filter coffee, an espresso-like cup of joe, or cold brew, the possibilities for making coffee using an AeroPress are endless. In 2019 AeroPress expanded its product line by introducing the AeroPress Go. As I’m constantly on the move and have been living out of my luggage for the most part of the last 5 years, this compact version quickly became my first choice to satisfy coffee cravings on the road. I’m excited to share how to aero-press like a pro on the go and take your brewing skills to the next level.
This article contains affiliate links to Amazon. As an Amazon Associate I earn from qualifying purchases.
Featuring AeroPress Recipes by Two-Time Finnish Barista Champion Jarno Peräkylä & German AeroPress Champion Mateusz Petlinski
We’ll be testing out two methods – standard and inverted. For the standard method, two-time Finnish Barista Champion Jarno Peräkylä is taking us through his everyday recipe. For the inverted method, the German AeroPress Champion Mateusz Petlinski is sharing his winning AeroPress recipe. Both are compatible with the classic AeroPress and the AeroPress Go. Just follow the step by step instructions and brew with the AeroPress like a Champion!
For this AeroPress brew guide, SLURP provided beans from Finca El Cedro in Peru roasted by SUEDHANG Kaffee in Tübingen, Germany. This beautiful coffee is growing 1600m above sea level in the Moyobamba region and reached a SCA cupping score of 85,5. The variety is Caturra and the processing was done through 48 hours of anaerobic fermentation and a semi-wash. In the next step, we’ll be extracting its flavours ranging from raspberry to dark chocolate and anise.
How to use the AeroPress Go – The Parts
How to Brew with AeroPress Go – Step by Step
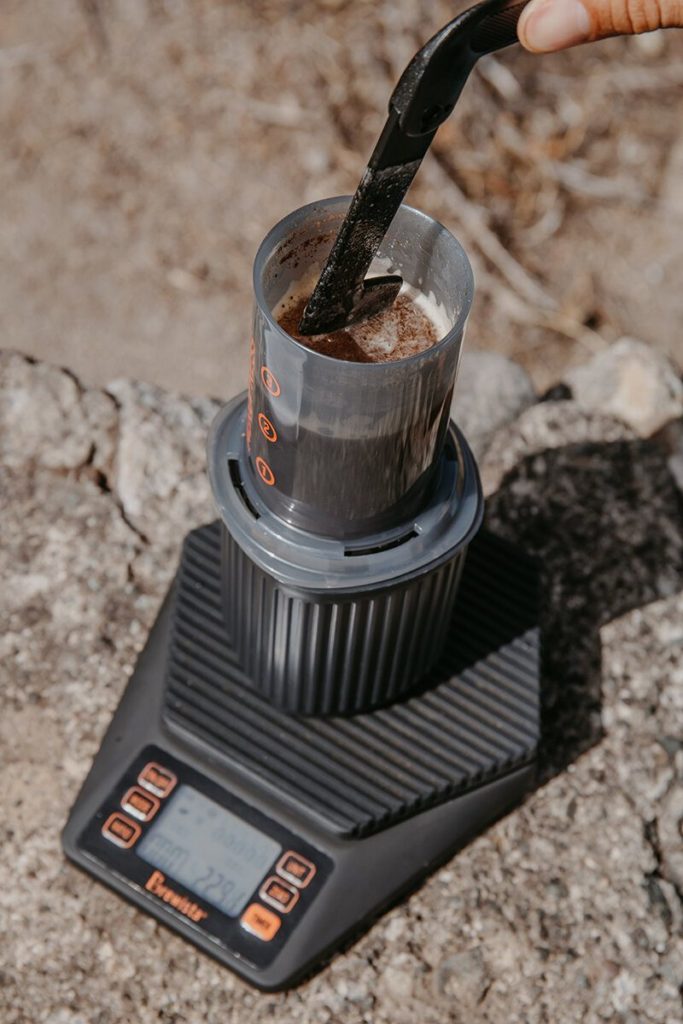
Instructions For the Standard Method by Finnish Barista Champion Jarno Peräkylä
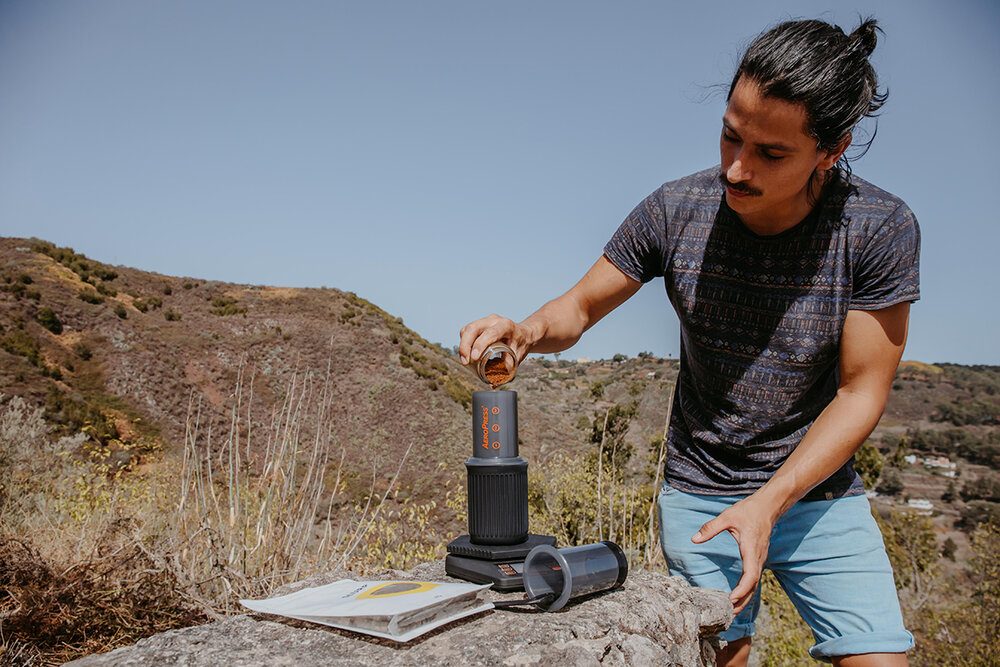
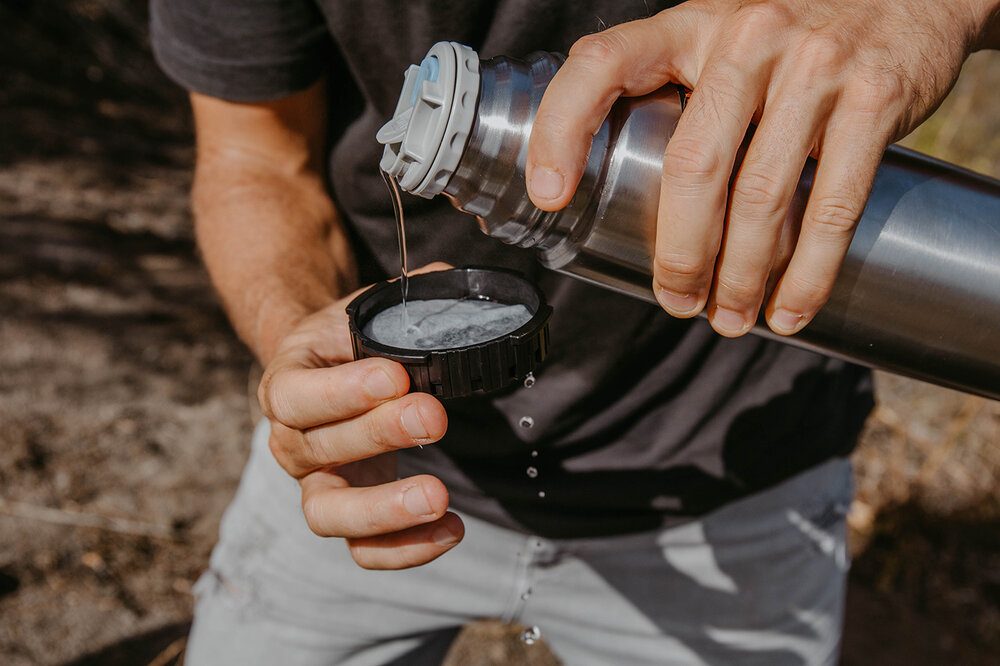
The two-time Finnish Barista Champion and founder of Lieke Coffee Jarno Peräkylä developed a fantastic recipe for a quick and easy brew with AeroPress Go. I’ve gotten great results by setting my Comandante grinder to 16 clicks, but encourage you to experiment with different grind settings to adapt to your taste. Jarno recommends grinding the beans a bit finer than you’d do for a V60.
Recipe by Jarno Peräkylä:
15,3 grams of coffee
225 ml of water
Brew time 1:30
How to brew step by step:
1. Heat up your AeroPress by rinsing it with hot water and flush 1 filter in filter cap
2. Put the filter cap on the chamber, place it on a mug or server and add 15,3 grams of ground coffee
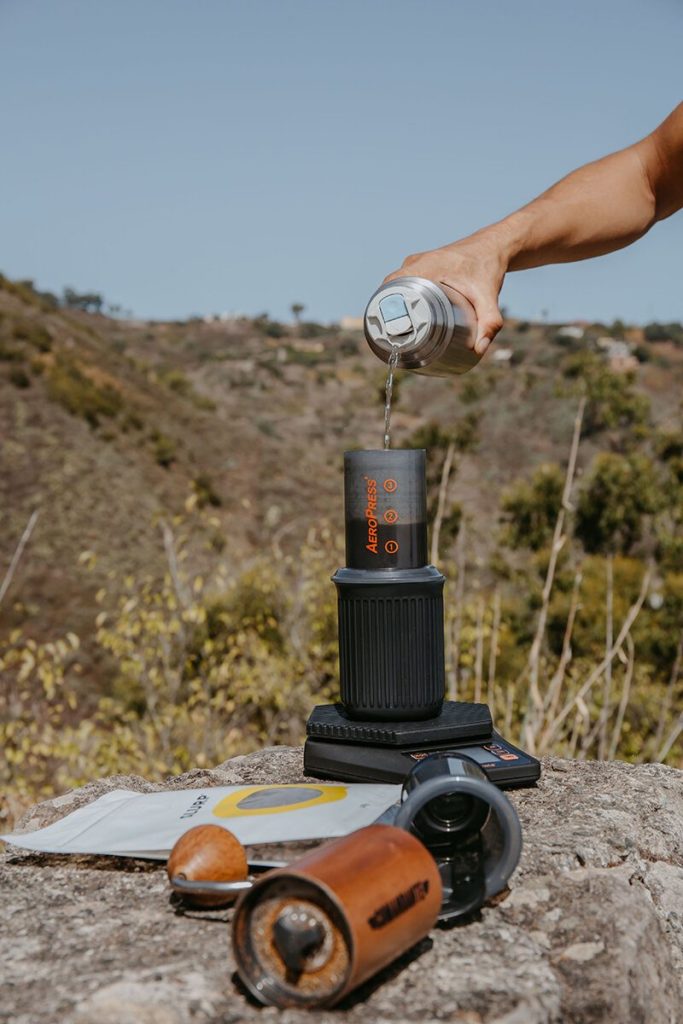
3. Pour 225 ml of water off the boil as fast as possible
4. Stir 3 times back and forth, place the plunger on top to create pressure in the brew chamber
5. After 1:00, take off the plunger and stir 3 times back and forth
6. Put the plunger back on and press down gently so that the total brew time amounts to 1:30 (If the coffee starts to spray off the sides try to press more gently.)
This recipe really brings out the raspberry notes of this beautiful Peruvian coffee by SLURP. Overall it creates a sweet and fruity brew with pleasant acidity and a balanced medium body.
Instructions For the Inverted Method by German AeroPress Champion Mateusz Petlinski
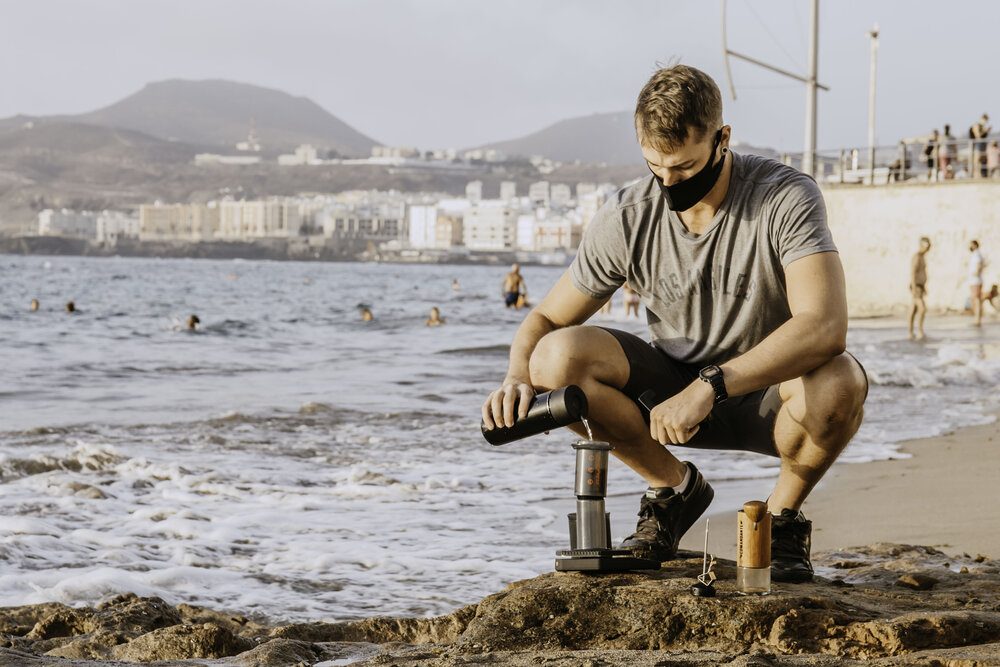
The 2015 Vice World Cup Tasters Champion and 2015 German AeroPress Champion Mateusz Petlinski is currently responsible for the coffee quality at the specialty coffee roastery Rösterei VIER in Düsseldorf, Germany. During the competition, he used the inverted method, which turns the AeroPress into a full immersion coffee brewer. His winning recipe creates a cup that tastes like freshly squeezed juice.
Bypass Recipe by Mateusz Petlinski:
30 grams of coffee, coarse filter grind
120 ml of water + 120 ml of bypass water
Brew time 2:15
How to brew step by step:
1. Heat up your AeroPress by rinsing it with hot water and flush 2 filters in the filter cap for increased clarity in the cup
2. To brew the inverted method, gently plug the plunger onto the chamber to create a seal, flip the AeroPress and add 30 grams of ground coffee to the chamber
3. Slowly add 120 grams of water at 93 degree Celsius
4. Take a stirrer and gently stir for 30 seconds until all of the coffee grounds are completely soaked in water
5. Screw on the filter cap, gently press out any air afterward
6. Flip the AeroPress again and immediately place it on top of a mug or server
7. Let it sit for 45 seconds
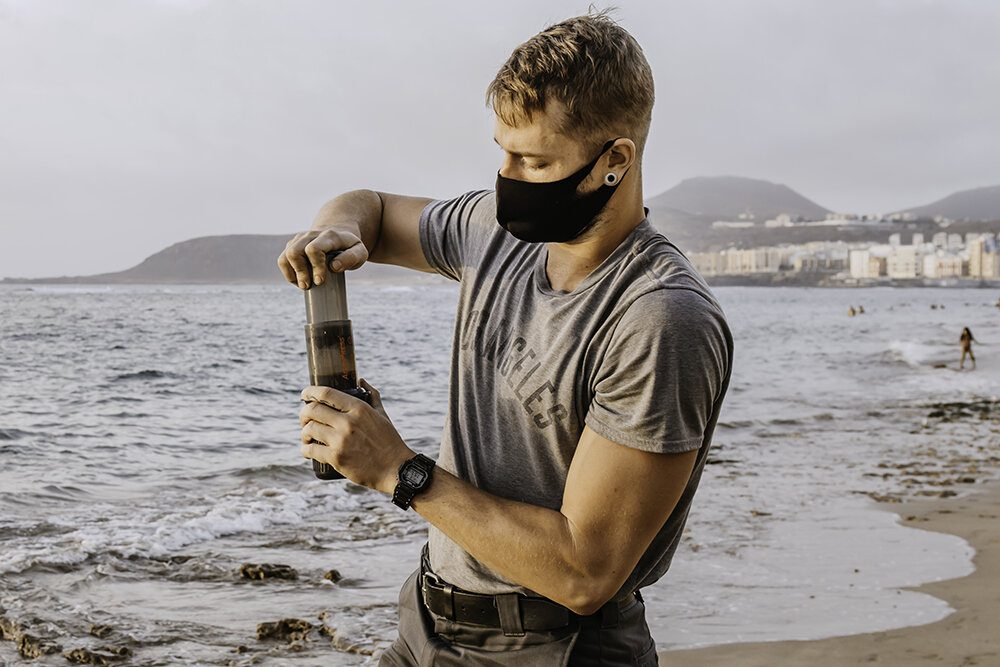
8. Press the plunger down for 30 seconds
9. Following these instructions, you’ll extract 80 grams of concentrate, add 120 ml of hot water to it, and pour the brew from the mug into a server and back until it’s at a drinking temperature of 60 degrees Celsius
According to Mateusz, this method works really well with coffees that are high in acidity. They turn out nicely balanced and full-bodied.
Troubleshooting Common AeroPress Go Problems
Even as simple and user-friendly as the AeroPress is, it’s not immune to the occasional brewing hiccup. But fear not, for we have the solutions to the most common issues you might encounter on your AeroPress journey.
Leaking during the brewing process: If you notice that your AeroPress is leaking during brewing, this is likely due to the seal on the plunger being worn. Be sure to remove coffee residue after each use and if the problem persists, you might need to replace the rubber seal.
Difficulty pressing down the plunger: If you’re struggling to press down the plunger, it may be due to a grind size that is too fine. Adjust your coffee grinder to a slightly coarser setting, and ensure the filter cap is securely but not overly tightened.
- Coffee is forced out sideways and over the lip of the cup when pressing. This can be caused by pressing too hard or using a too fine grind. You can try to press more gently, use a coarser grind, or lean on the plunger with your forearm rather than pushing with your hand. Alternatively, you can buy a Prismo attachment that creates more pressure and prevents leakage.
Weak or watery coffee: This could be because you’re using a grind that’s too coarse or not enough coffee. Aim for a grind consistency similar to table salt and experiment with your coffee-to-water ratio to find the right balance.
Over-extracted or bitter coffee: If your coffee tastes over-extracted or bitter, it might be because the water is too hot or the brew time is too long. Try lowering the temperature of your water to around 85-95°C, and if needed, reduce your brew time.
AeroPress falling over during brewing: This can be a frustrating issue, especially when brewing with the inverted method. Ensure your surface is flat and stable, and consider using a heavier cup or server to hold the AeroPress in place.
Remember, brewing with AeroPress is both an art and science. It’s all about exploring and experimenting until you find your perfect cup.
Frequently Asked Questions
-
What’s the ideal water temperature for AeroPress brewing?
The recommended water temperature for AeroPress brewing is between 85-95°C (185-203°F). However, it’s worth experimenting to find what suits your taste buds best.
-
How does the taste of coffee change when brewed using the standard method vs. the inverted method?
The standard method can often lead to a cleaner, crisper cup due to less steeping time, while the inverted method generally allows for a fuller immersion, potentially creating a more robust and complex flavor.
-
Can I use the AeroPress to make cold brew coffee?
Absolutely! Although it’s not its typical use, the AeroPress is versatile and capable of making cold brew coffee. Simply steep your coffee grounds in cold water in the AeroPress chamber for a lengthy period (typically 12-24 hours) before pressing.
-
How often should I change the AeroPress filters?
AeroPress paper filters are single-use and should be replaced with each brew. If you’re using a reusable metal filter, rinse it thoroughly after each use and clean regularly to prevent oil and residue build-up.
-
What type of coffee grind is best for AeroPress brewing?
The AeroPress works well with a medium-fine grind, similar to the texture of table salt. But feel free to explore with grind size, as it significantly contributes to the flavor of your brew.
Slurp Your Way Through Some of the Worlds Finest Coffee
To create this brewing guide on how to use the AeroPress, I’ve teamed up with the international specialty coffee subscription service SLURP. It’s a platform for high-quality coffee in Germany, Finland, Japan, and the UK. On the Webshop, you’ll find freshly roasted beans by top-notch micro-roasters from Finland and Germany that are shipping worldwide. Dating back to 2014 the founders first established the business in Helsinki with a vision to make the coffee industry more sustainable. What sets SLURP apart is their continuous strive for transparency. All coffees are delivered with a description stating every possible detail, from SCA cupping score to farm, harvest season, and processing. On top of that, you can completely customize your SLURP experience. Depending on your level of expertise, preferred roast, flavour profile and brewing equipment SLURP will brew you a perfect match every 2 or every 4 weeks. Subscriptions are flexible and can be paused anytime.
We hope you enjoy experimenting with these champion recipes. For beautiful coffees delivered to your doorstep anywhere in the world, check out SLURP and get 30% off your first purchase by applying this discount code: SLURP_GUIDE_30.

