Precision Brewing: Why You Need a Coffee Scale and How to Use It
If you’re an ardent coffee lover, you’ve probably spent countless hours perfecting your home-brewing ritual. You know the one – it’s the morning dance you perform in the kitchen as you meticulously grind, weigh, and pour your way to caffeinated nirvana. But for many of us, there’s a missing ingredient in this well-choreographed routine: the humble coffee scale.
Skeptical about why you need to add another gadget to your brewing arsenal? Stick around as we explore why you need a coffee scale and how it can elevate your brew from “oh, that’s nice” to “wait, where’s the nearest barista competition?”.

The Importance of Consistency in Coffee Brewing
Consistency is King
For many home baristas, the goal is to achieve a coffee that’s not only good, but consistently good. You want your morning brew to be as reliable as the sun rising in the east. But consistency in coffee is a fickle beast. A few extra beans here, a touch more water there, and suddenly, you’re sipping on something that tastes like it was brewed in the dark depths of a forgotten cavern.
Enter the coffee scale, your new best friend in the battle for consistency. By measuring your coffee and water to the nearest gram, you can fine-tune your recipe to achieve the same taste, strength, and aroma every single time. Bitterness begone! Sayonara sourness! It’s time to unlock the full potential of your beans.
The Golden Ratio
You might be thinking, “Okay, a scale could be useful, but do I really need one? I’ve been eyeballing it for years, and I’m doing just fine!” To which I say, “That’s fantastic! But let’s talk about the Golden Ratio.”
The Golden Ratio, in the context of coffee, refers to the optimal balance of coffee-to-water for your chosen brewing method. While it might sound like something from a Dan Brown novel, it’s actually a pretty simple concept that can make a world of difference to your brew.
By using a coffee scale to weigh both your coffee and your water, you can easily maintain the Golden Ratio, ensuring that your brew is neither too weak nor too strong. No more guessing games or measuring spoon mishaps – just a consistent, delicious cup of joe.
Dialing in the Perfect Grind
Ah, the grind. Too coarse, and you’ll be left with a weak and watery brew. Too fine, and you’ll find yourself with a bitter, over-extracted mess. In a world of infinite variables, it’s often the grind that holds the key to unlocking the full flavor potential of your beans.
But what’s a coffee scale got to do with it? Well, by using a scale to weigh your coffee, you can more accurately adjust your grinder to achieve the perfect grind size for your chosen brewing method. No more trial and error – just a streamlined process that yields consistently great results.
A Recipe for Success
We all have our own personal preferences when it comes to coffee. Some of us like it strong and bold, while others prefer a more delicate and nuanced brew. But regardless of your taste, there’s one thing we can all agree on: nobody wants a bad cup of coffee.
By using a coffee scale to measure your ingredients, you can create a recipe that’s tailored to your unique palate. Start by weighing your coffee and water, and then experiment with different brewing methods, grind sizes, and ratios until you find the perfect combination. Once you’ve nailed it, simply jot down your recipe and replicate it whenever you need acaffeine fix. It’s like having your very own coffee blueprint, ready to be whipped out at a moment’s notice.
Tips for Using a Coffee Scale Like a Pro
Now that you’re familiar with the importance of consistency and the features to look for in a coffee scale, let’s talk about how to use one like a pro. Here are some tips to help you get the most out of your #coffee scale:
Choose the right brewing ratio: A good starting point for most brewing methods is a 1:15 or 1:16 coffee-to-water ratio. This means that for every gram of coffee, you’ll use 15-16 grams of water. You can adjust this ratio to suit your taste preferences.
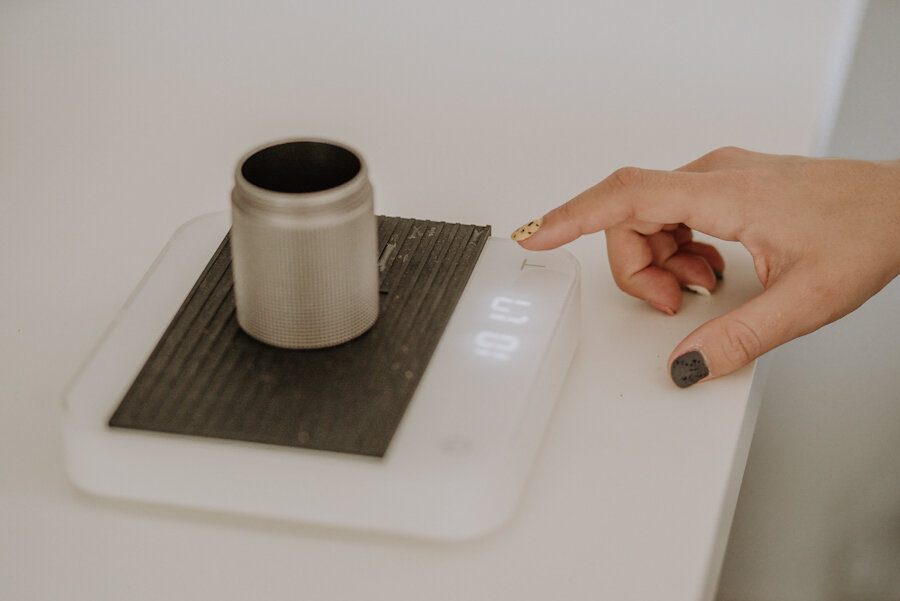
Tare your scale: Place your brewing vessel or coffee container on the scale and use the tare function to zero it out. This ensures that you’re only measuring the weight of your coffee grounds or water.
Weigh your coffee grounds: Add your coffee grounds to the container, making sure to weigh them accurately. Consistent measurements are key to achieving the perfect brew.
Measure your water: Using the same scale, measure the correct amount of water for your chosen brewing ratio. Be sure to use a separate container or measuring cup to avoid adding too much water to your coffee grounds.
Track your brewing time: If your coffee scale has a built-in timer, use it to monitor your brewing time. Consistent brewing times help ensure proper extraction and a balanced flavor profile.
Experiment and adjust: Don’t be afraid to experiment with different brewing ratios, grind sizes, and brewing times to find the perfect combination that suits your taste buds. Just remember to keep track of your changes so you can consistently reproduce your favorite brew.
Why Using a Coffee Scale is Essential for Pour Over
Pour Over coffee requires precision and consistency. A coffee scale can not only help you to measure the exact amount ofcoffee and water you need for your desired brew ratio, depending on the model it can also time your brew to ensure optimal extraciton. Smart coffee scales can even help you monitor your pouring speed and volume to ensure even saturation of the coffee bed. By using a coffee scale you can fine-tune your pour over techniques and discover how different variables affect the taste of your coffee.
Why Using a Coffee Scale is Essential for Espresso Brewing
A coffee scale can help you achieve the perfect espresso by weighing your portafilter and ensure consistent dosing as well as weighing your espresso shot to ensure optimal extraciton. Comparing your input weight (coffee) to your output weight (espresso) to calculate your extraction yield is easy to do with a coffee scale. For espresso brewing, make sure your coffee scale is compact enough to fit on your drip tray and is water proof.
Conclusion
By now, I trust you’re persuaded that a coffee scale is an essential addition to your coffee brewing collection. Not only does it empower you to attain unparalleled consistency, but it also supports you in refining the grind, capturing the Golden Ratio, and conquering the art of extraction. It’s the hidden ace up the sleeve that every home barista requires to unleash the full potential of their beans and craft a genuinely extraordinary coffee experience.
To make things even easier for you, I’ve put together a comprehensive article featuring the best coffee scales on the market. Be sure to check out the article here, and you’ll be well on your way to finding the perfect coffee scale to elevate your brewing game.
Frequently Asked Questions
Can I use a regular kitchen scale instead of a coffee scale?
While a regular kitchen scale can be used for measuring coffee grounds and water, it may not have the precision and accuracy needed for optimal brewing results. A dedicated coffee scale is specifically designed for coffee brewing and typically offers higher accuracy, more precise measurements, and additional features like a built-in timer.
Do I need a coffee scale if I use pre-ground coffee?
While a coffee scale is without a doubt beneficial for those who grind their beans at home, it is equally useful for measuring pre-ground coffee and water to ensure consistent brewing ratios and extraction.
How to calibrate a coffee scale?
Calibrating your coffee scale ensures that it remains accurate and precise. It’s generally recommended to calibrate your scale every few months or whenever you notice discrepancies in your measurements.
Here’s a step-by-step guide to help you through the process:
- Reset the Scale: Start with a clean, level surface. Turn on the scale and let it initialize, ensuring it reads ‘0’ before you begin.
- Check Manufacturer Instructions: Some scales have specific calibration modes. You’ll need to check your scale’s manual to find out if there’s a specific sequence of buttons to press to activate this mode.
- Use Appropriate Weights: Calibration weights are needed for this process.
- Begin Calibration: Place the calibration weight on the scale. If your scale has a calibration mode, it should automatically adjust to read the correct weight.
- Verify Accuracy: Once calibrated, remove the weights, reset the scale to zero, and then place the weights back on. If the scale reads the correct weight, your calibration was successful. If not, you may need to repeat the process.
